

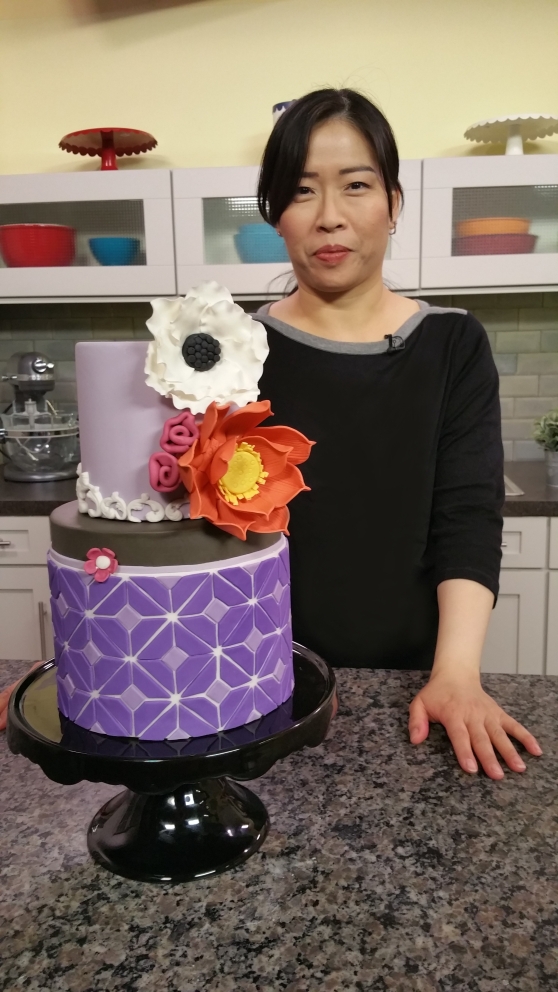
I first shared this tip on my Facebook page 2 years ago but have been utilizing it since the very beginning of my caking journey which is almost 8 years now and it has served me long and served me well!
I’ve always loved creating cakes and designs that feature the colour purple because, well (obviously), it’s my MOST favourite colour (like) EVER! So whenever I have free reign over a design or am creating something just for me, I almost always choose to work with some shade of purple. Therefore, I have worked with it a lot AND been frustrated by it A LOT! I quickly realized as most do, that purples have a tendency (ok, inevitable likelihood) to fade to an unsightly pale-ish grey/blue. It’s not the beautiful kind that sits pretty and pristine, but instead the washed out looking kind, like you’ve just left it out in the rain or something and all life has drained from it lol! Ok, I might be getting a BIT overly dramatic…
Here is one of my cakes from early on (circa 2009), where the purple had already faded a considerable amount within less than an hour (forgive the poor picture quality and contrast…what did I know back then? lol)…
Well, I immediately went on a quest to find a way to keep my purples from fading or at least to still have a nice purple tone to it after it does (inevitably) fade. I had done some research and found a little blog article (sorry, forget now where I found it) on using baking soda to prevent fading. I tried this but it never really worked effectively enough for me. It would require A WHOLE LOT to make a significant difference and it only lengthened the staying power of the purple by a few hours, at best. Its theory seemed sound but it just didn’t pan out for me and wasn’t quite effective enough.
I then decided to try and see if I could come up with my own solution. First, I had to figure out what was the likely cause of the colour change. I quickly determined two things: that (1) the purple, once faded, lost its vibrancy and looked drab and dull and (2) that the spectrum of the purples that I really LOVED, were ones that had more of a pinkish tone to them. So I figured, the vibrant part of the purple that faded MUST be the pink component. This seemed to make perfect sense because guess what other colour notoriously fades? Pink!
To test this, I added extra deep pink (specifically Wilton Rose) to my fondant that I had first coloured to the perfect shade of purple, in hopes that it would maintain a lovely purple shade even after sitting out for more than a day. EUREKA, it worked! I still had a lovely shade of purple fondant the next day, even when exposed to normal light. Of course, it did still fade from what I’d coloured it to originally, but at least it did not have an unsightly greyish-blue tone to it like it would have, had I not added that extra bit.
The first pic above was from early 2010 and at this point I was already adding extra deep pink but not quite enough so you can see it still fades to a slightly bluish tone. The second pic was after I stopped being so timid about it and it makes a huge difference. When you think about it, blue and red (or pink in this case) make purple. So when purple fades and becomes blue, it’s the red component (or pink) that has faded. So it makes sense to add in extra deep pink to combat the problem.
Nowadays, I always add extra deep pink to my coloured purple fondant and always colour it to a slightly more pink-toned shade than I want to end up with knowing that some of the pink will still fade out, leaving me with the perfect (or nearly anyway!) shade of purple every time (mostly). The amount you’ll need to add will depend on what shade you want to end up with after, so you will have to play with this method a bit to get more comfortable in gauging how much. I actually share this and many of my other colouring and decorating tips in my Craftsy class, Cakes in Vivid Color, which you can buy to own, or watch with a subscription to Craftsy.
So, hopefully this tip helps out some of you who are starting out. Others may have figured this out already by now, on your own, or have another method that works better for you. Like I always say, there’s more than one way to do anything and no one way is the best for everyone. I’ve heard that there are some companies that are coming out with fade-proof or fade-resistant shades of purple and other people swear by using powders to colour their fondant to prevent fading. If you have a steady hand and a quality airbrush system, airbrushing is another alternative. Personally, I’ve never tried any other brand other than Wilton and Americolor so I cannot comment on the merit of the fade-resistant brands. And the powders that I have tried have never worked as well as this method, requiring way too much powder to be cost effective, and sometimes left a grainy, pigmented look to my fondant. So this is my tried-and-true go-to method.
But wait, “hold your horses,” you might be thinking…what about red? We all know from basic colour-theory (and mentioned earlier), that purple is essentially a combination of blue and red so why, you might ask, do you not just add red? Well, in my experimentations I did try this first and it actually DID make for a deeper purple but it resulted in more of a murky plum-like tone which was not the desired result. Mind you, if you were going for plum purple, it would totally work haha!
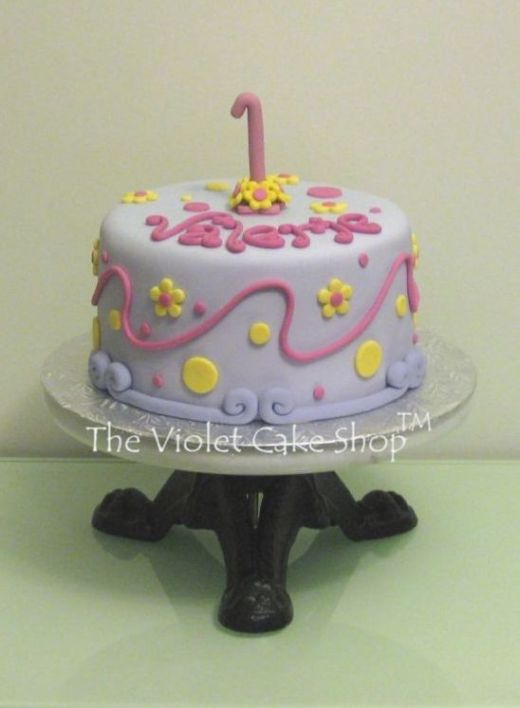
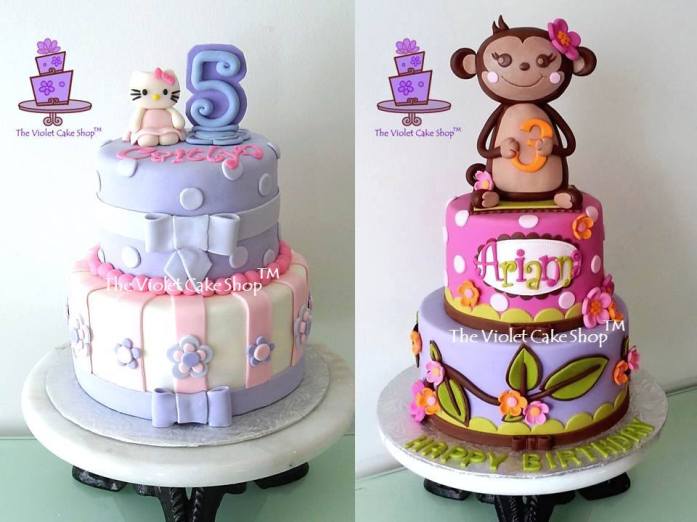
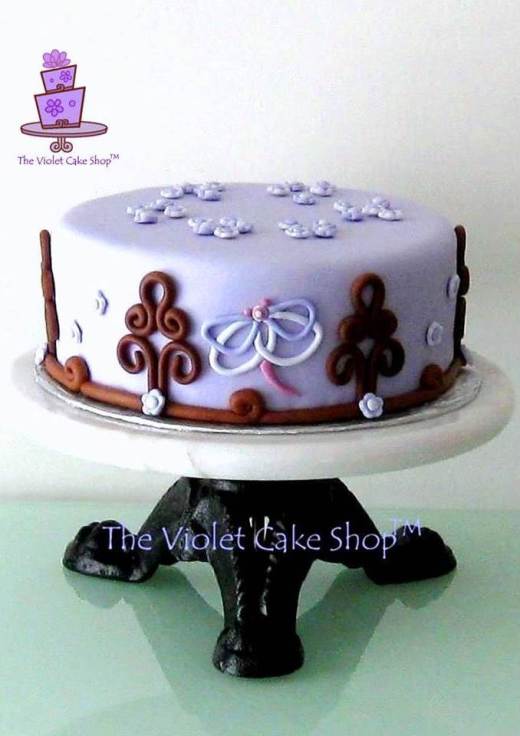
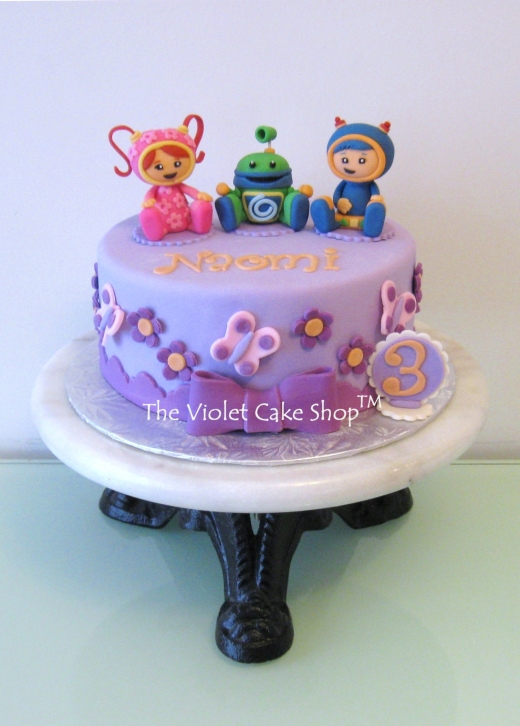
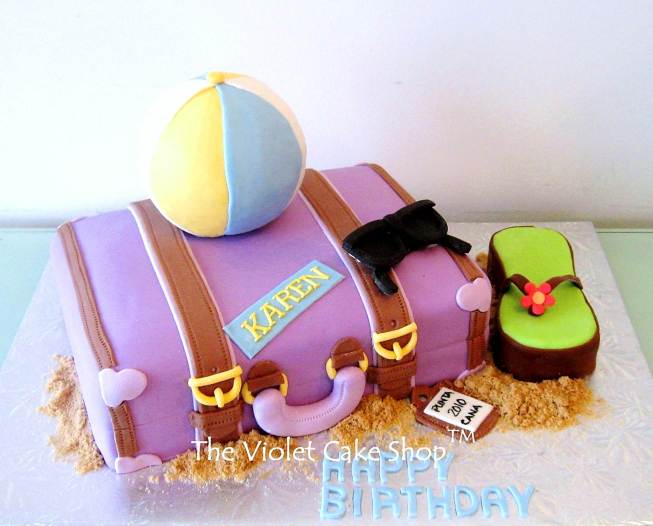
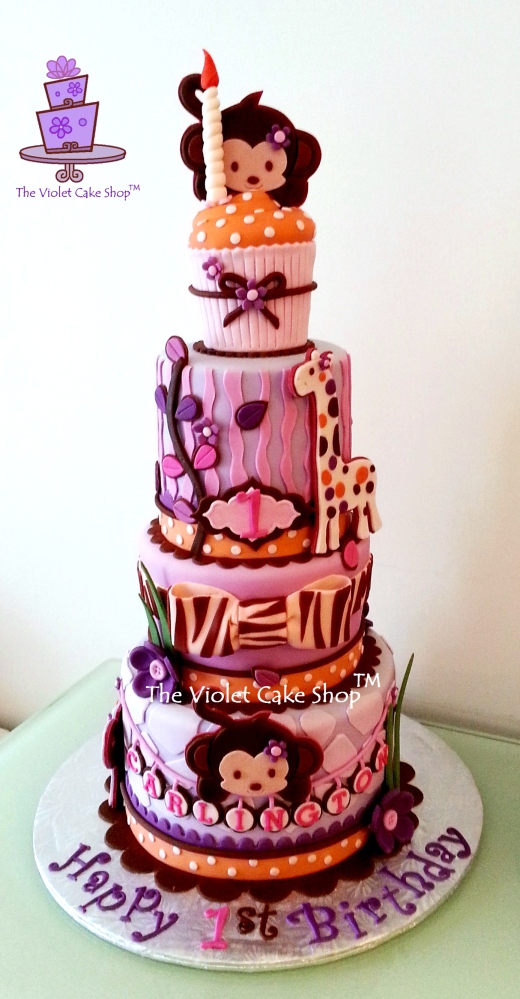
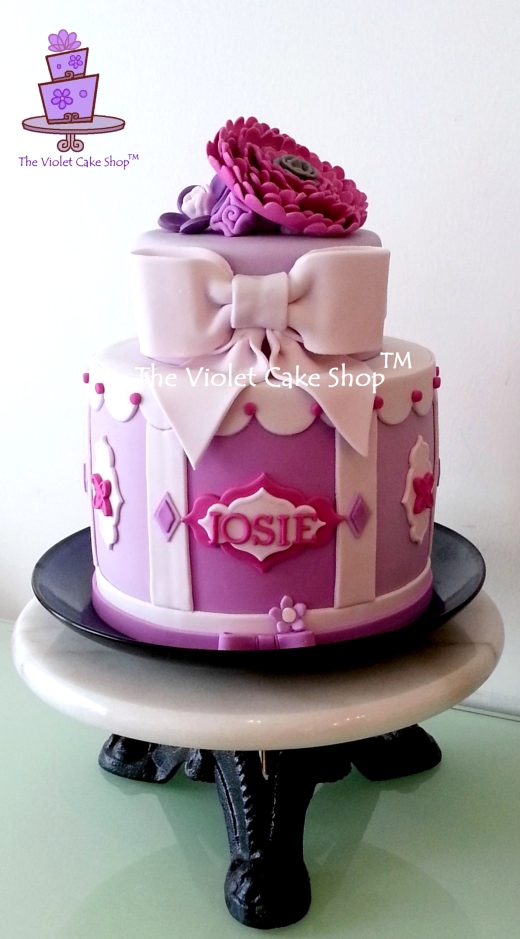
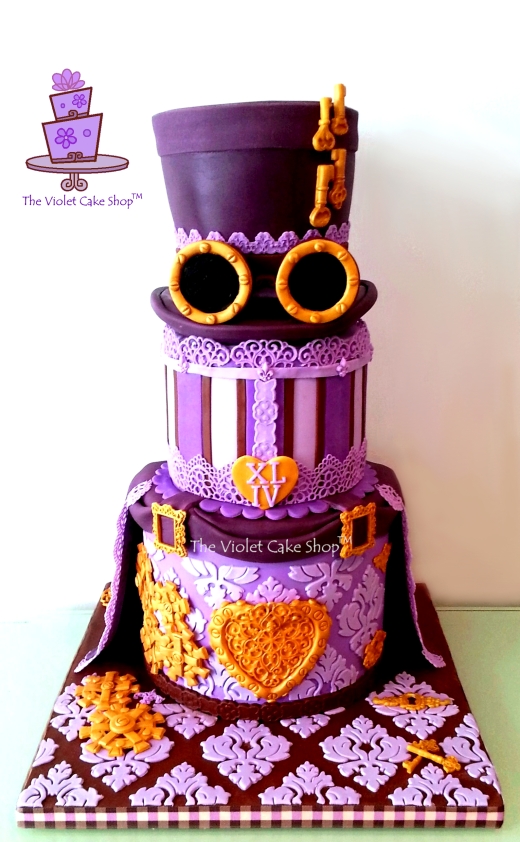
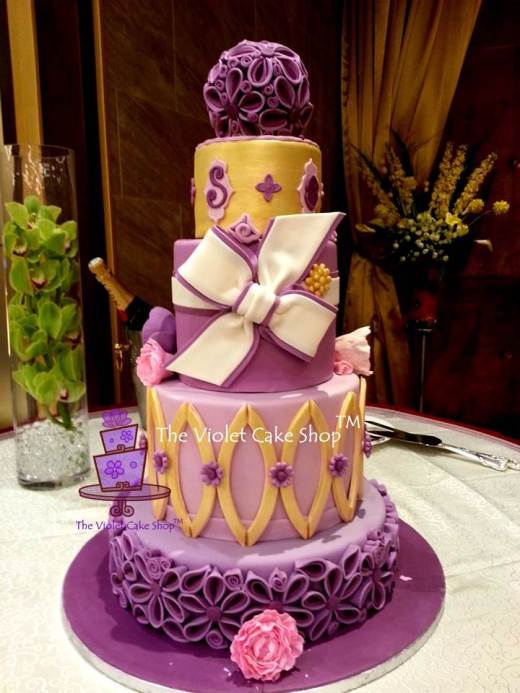
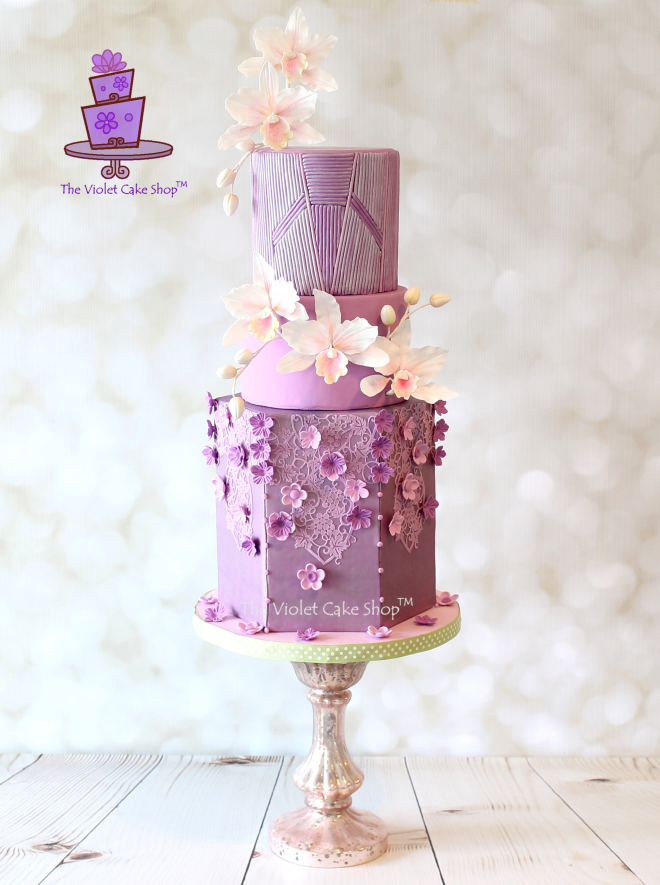
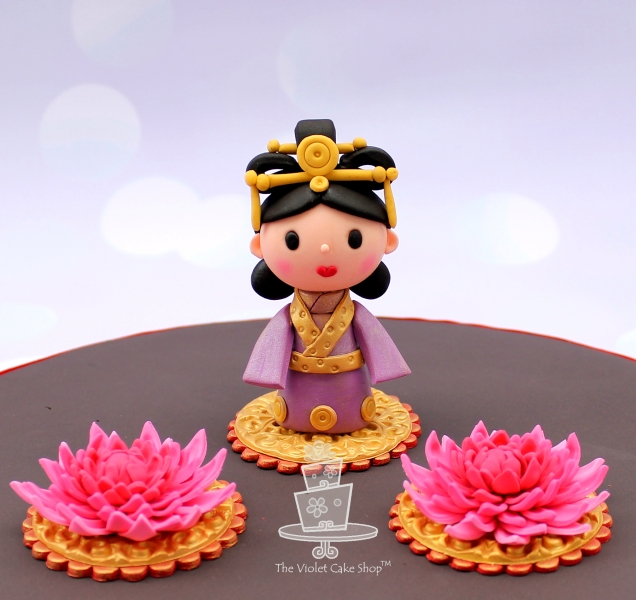
Here are a few other examples of my purple cakes, all coloured with Wilton Violet to start, then had different amounts of extra Wilton Rose added depending on the final shade I wanted to achieve…


You must be logged in to post a comment.