The life of a cake artist JUST got easier! I’m going to tell you about a new product and anyone who does primarily celebration cakes, will know what I mean!!
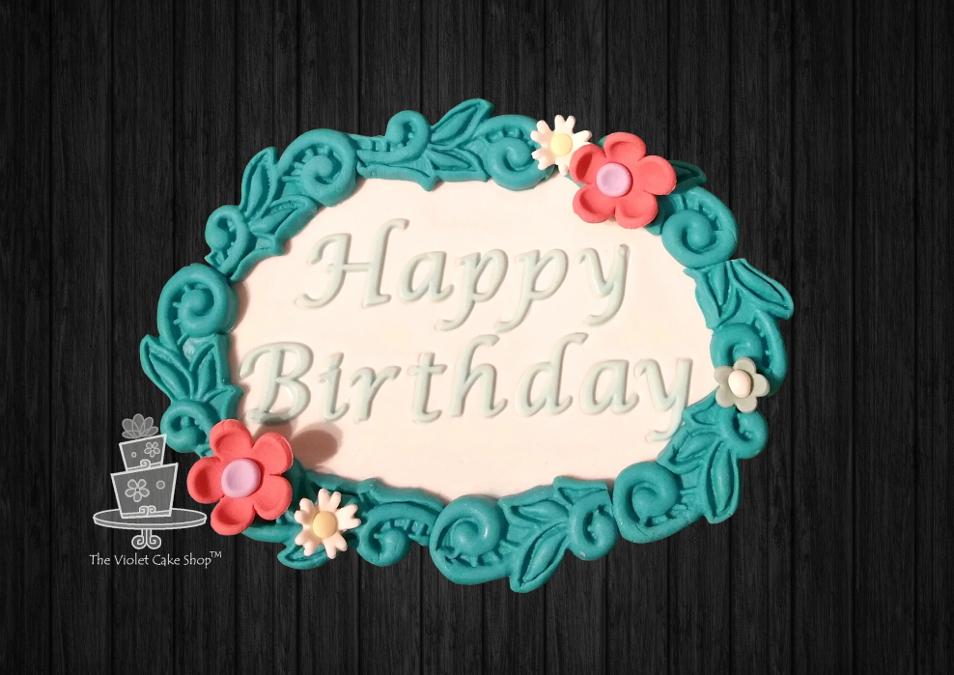
This vintage style plaque was SO easy to create using this new system and I show you how I did it in a mini-tutorial at the end of the post.
Normally, just the birthday greeting alone would have taken me nearly half an hour. You had to create all the letters one by one, which takes up time. You had to let the paste dry a bit to get the cleanest edges, which takes up time. You could only roll out small pieces of paste for a few letters at a time or else it would dry out, which takes up time. You only had one ‘a’, one ‘p’ and one ‘y’ to work with in a typical letter set so you had to wait until the first set was done before doing it all again, which takes up time. Ok, ok…you get the idea LOL!
Well, I was asked last month by Marvelous Molds to test out a new product that they were launching called Flexabets™. It’s a revolutionary new way to add lettering, names and messages to your decorated cakes or cakeboards that does not require working with stiff cutters, having to pick out your letters (unless you choose to) or waiting for your paste to dry so you can tap (more like SLAP!) them out. You can now create letters and numbers using their patented silicone onlay molds! These letters pop out easily, with barely any effort, and do not get ‘stuck’ in the onlay molds.
More good news. For helping them test out the Flexabets™ and writing a blog post, they are offering 10% OFF to my readers and fans that purchase a set. Just enter my exclusive code TVCSFLEXABET at checkout when you purchase from the Marvelous Molds site before March 13th.
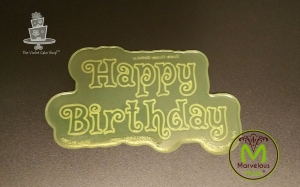
Along with three styles of font (Calligraphy, Typewrite and Swirly), they also have four “Happy Birthday” style onlays which makes the most used greeting on celebration cakes, now an ease to add! You can use the greetings on the tops or sides of your cake, on cakeboards and sheetcakes, or to create plaques or toppers like the one I show here.
Oh how I WISH they’d come out with these back when I was making like 3-4 cakes a weekend! It would have saved me a TON of time and made the most dreaded part of any order just that much more bearable.
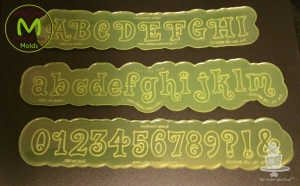
Here are samples from the Swirly set, which is my fave. I heard though through the grapevine that new, yet unseen fonts may be in development too!
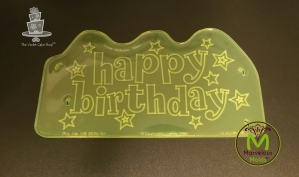
And here is a FUN celebration style lettering that is available just in the “Happy Birthday” greeting.
I cannot reiterate enough how versatile Flexabets are for adding messages, names, monograms and more to your cakes, toppers or cakeboard. Now for the mini-tutorial on how I used the calligraphy font to make a Vintage Happy Birthday Plaque. Hope you ENJOY!!
(Oh and I also made this tutorial into a quick video that I posted to my Facebook page but without any instructions because I am after all a video novice and hey, getting it on a video was already an accomplishment so forget about adding text right? haha!!)
~~
How to make a Vintage Happy Birthday Plaque – Mini-Tutorial:
(Note: these are my own techniques developed independently with my own ideas and shared for personal use ONLY. They are not to be used for monetary gain or to develop products, books, DVDs, downloads or lessons for sale or to be taught in classes or tutorials, whether hands-on, on-line, in video format or in print without express written consent.)
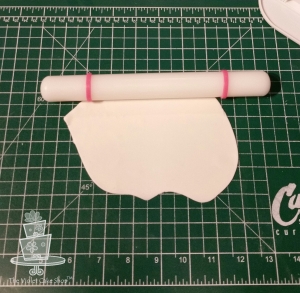
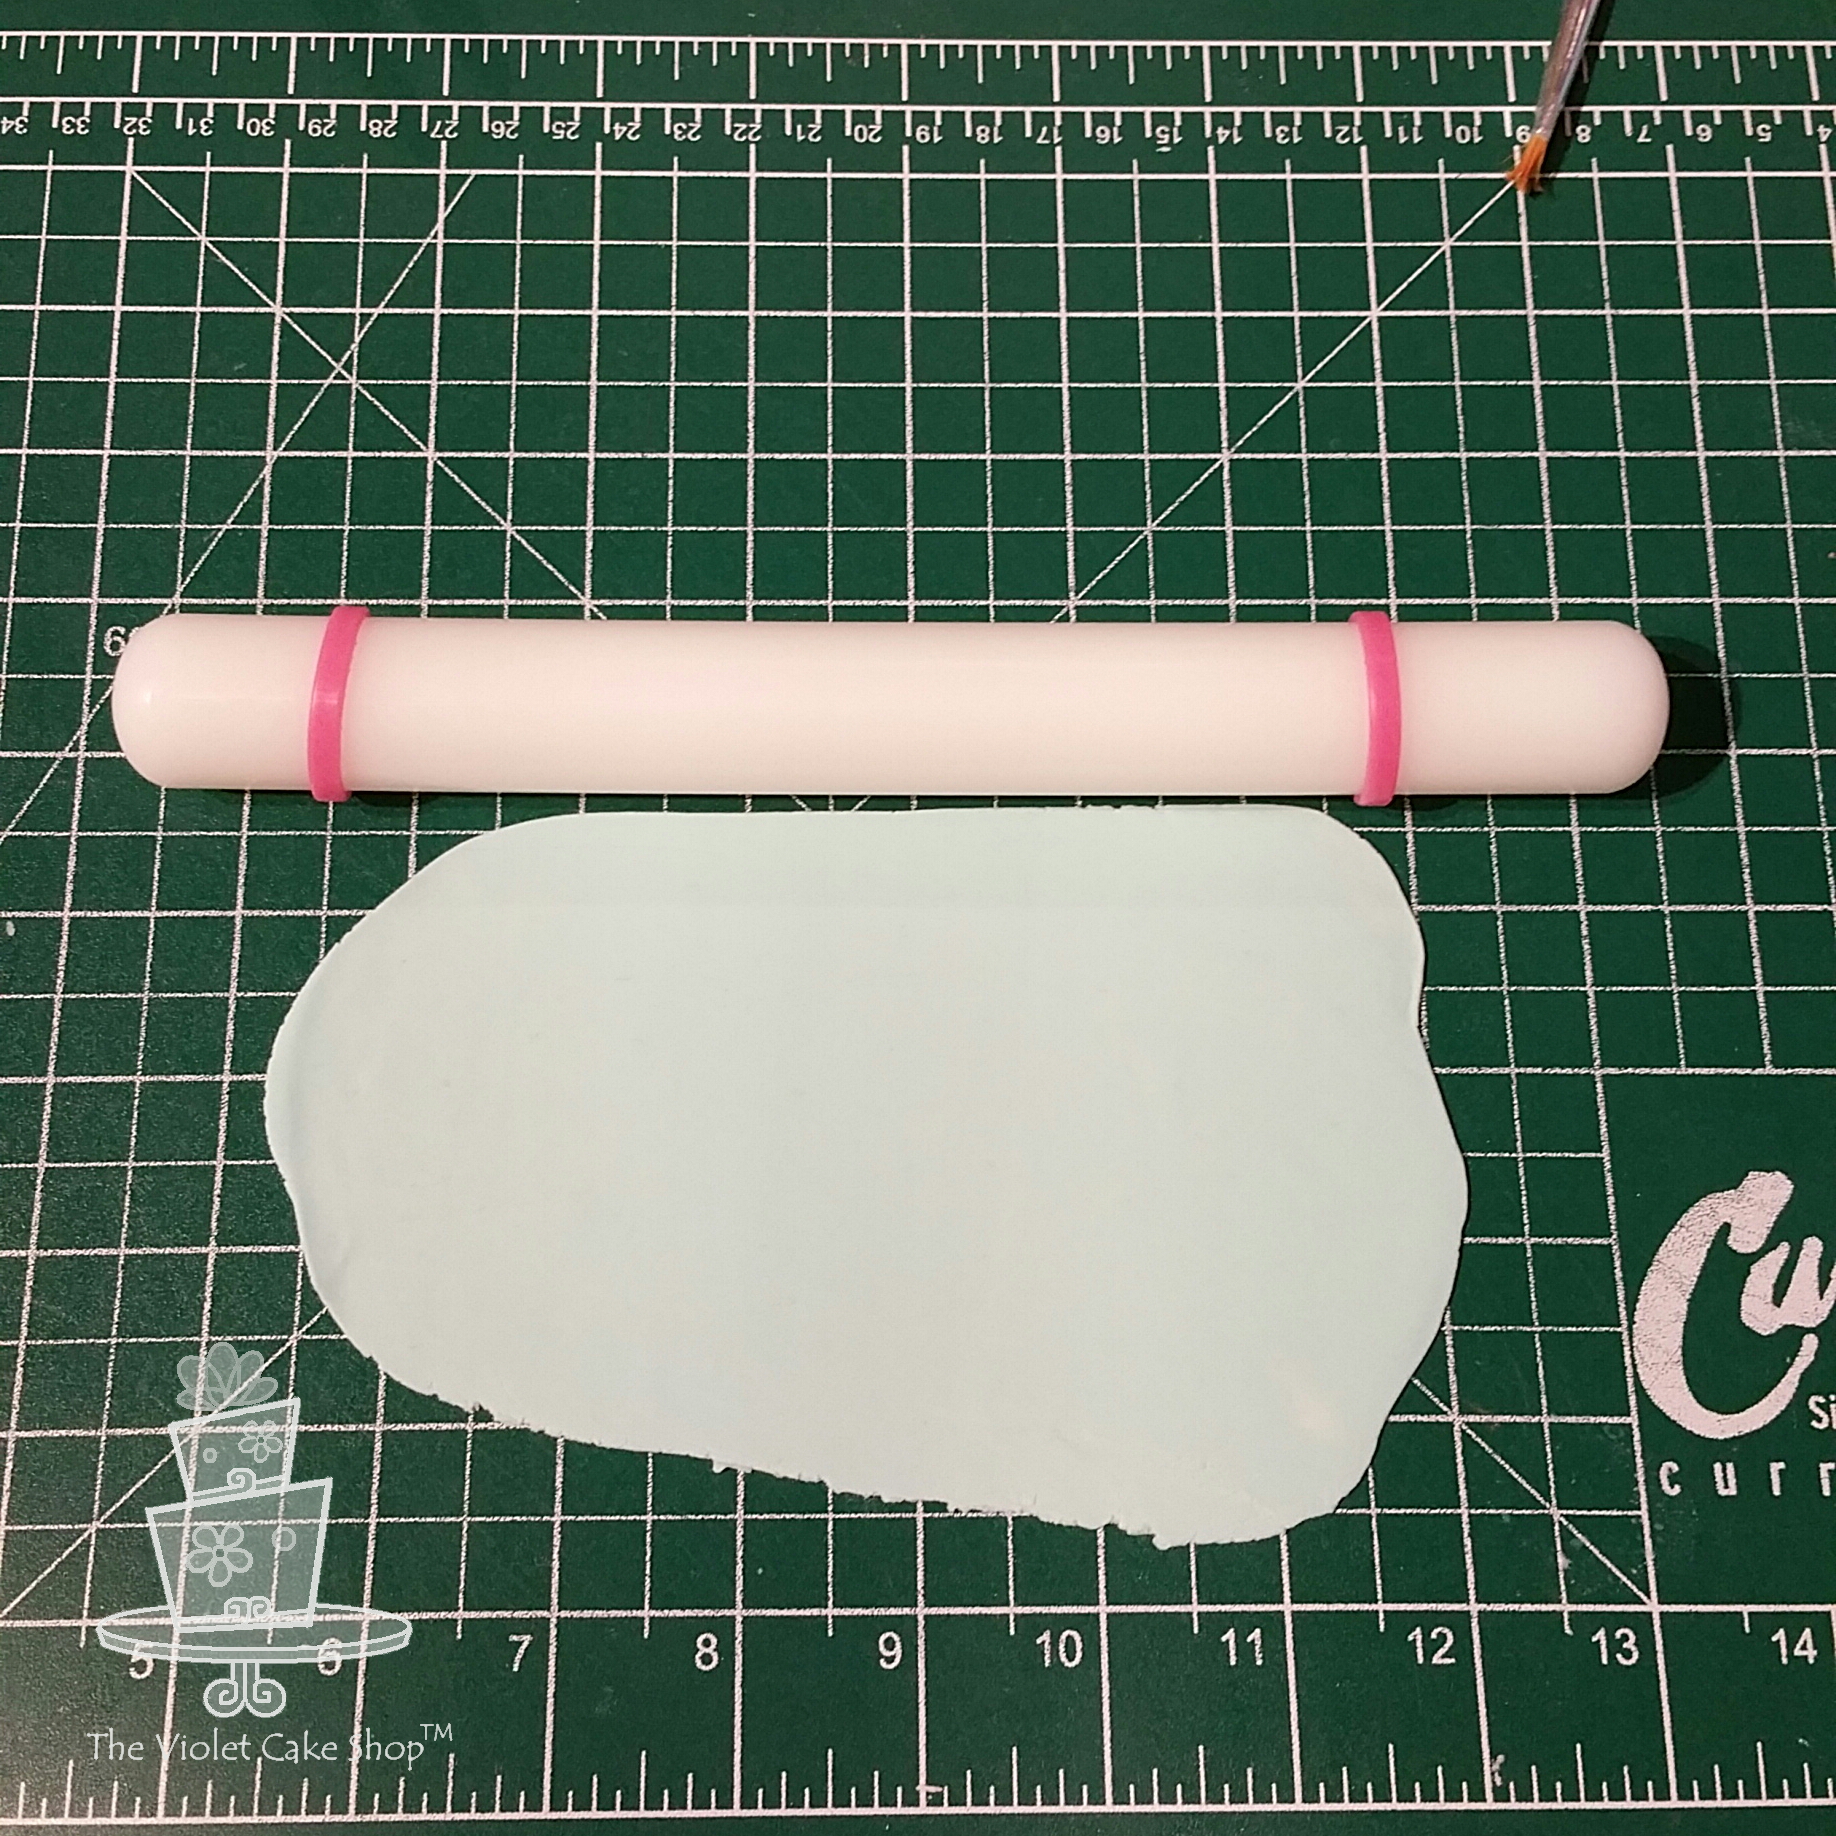
Step 1:
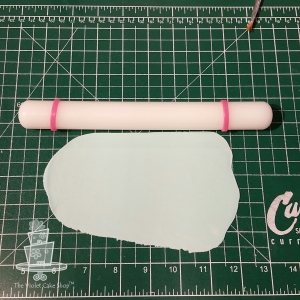
Roll out 50/50 gumpaste/fondant mix to approximately 1 mm thickness or just under 1/16 inch; if using a pasta roller, roll out to #2 thickness; you can also use fondant with tylose (or CMC) added, approximately 1 tsp per 1lb fondant
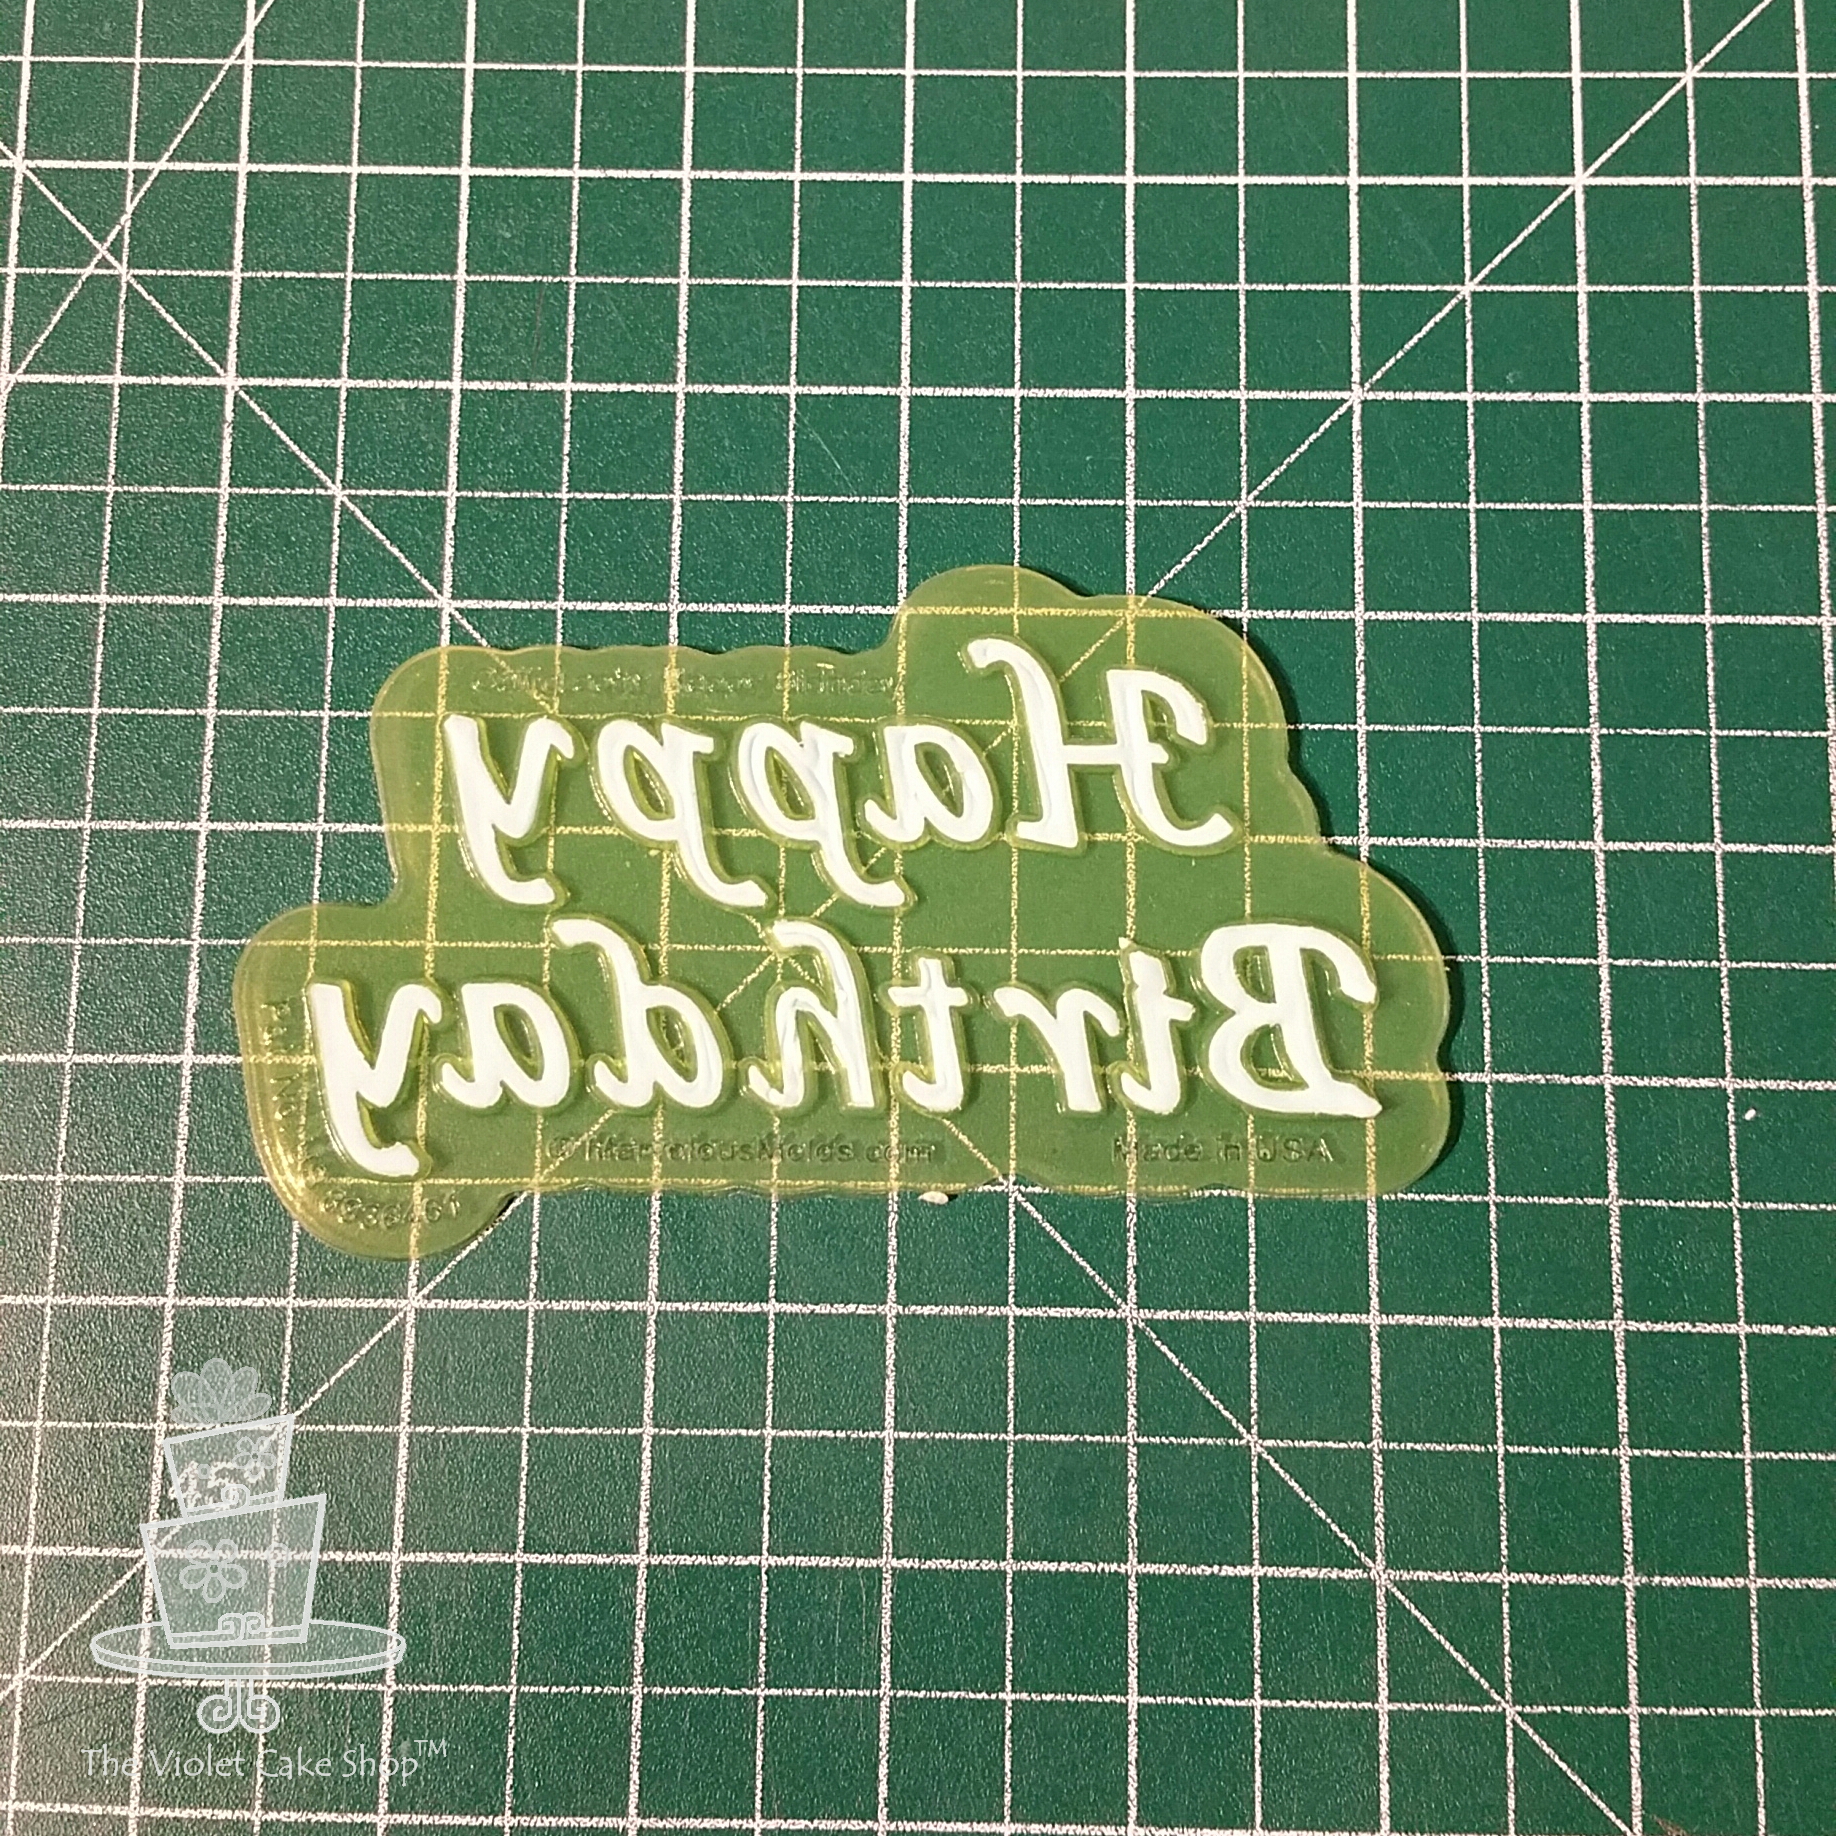
Step 2:

Dust the Flexabet mold with a bit of corn starch; tap out excess against your palm or work surface; alternatively, you can brush shortening into the grooves of the letters – this is my preferred method as I find the corn starch sometimes allows the paste to shift too much when you are pressing it into the mold; you can also use a combo of the two which is what I’ve used here =D
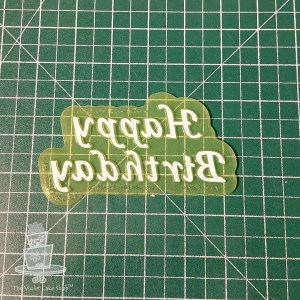
Step 3:
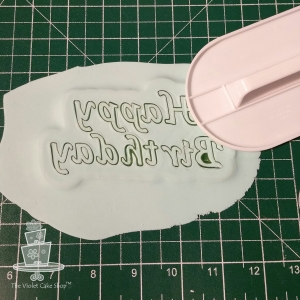
Lay your sheet of 50/50 paste over top of the onlay, good side down; use your palm to press the paste against the onlay along the entire design (not shown in pic); using your smoother, slowly press the paste further against the onlay, then press and twist the smoother against the bladed portions of the design; you will see the design start showing or cutting through – continue until all bladed edges are cleanly cut through the paste
Step 4:
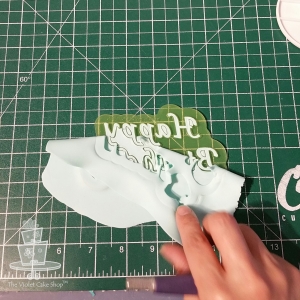
Slowly remove excess paste; start on one side and slowly, gently bend and pull the excess paste towards you, not upward
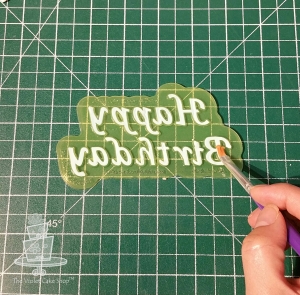
Step 5:
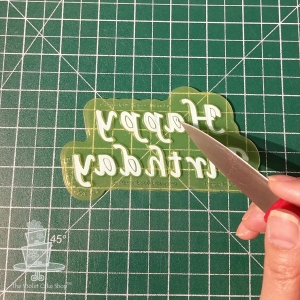
You will be left with just the letters in the onlay mold, along with their centres; use a sharp pointed tool to pick out the centres of the letters that have been left behind
Step 6:
The cleaned up Happy Birthday message still in the mold
Step 7:
Roll out some white 50/50 gumpaste/fondant mix to 1 mm thickness or 1/16 inch, or whatever colour you’d like; again, you can use fondant with tylose (CMC) added instead, approximately 1 tsp tylose to 1 lb fondant; roll large enough to fit the Happy Birthday message; you can place your onlay on top (with paste still in the mold) to check
Step 8:
Brush the back of the letters with a small amount of water or edible glue; make sure to cover every surface; I prefer to use water but with some fondant brands, just water can sometimes end up making the paste too slippery so if needed, use a tackier edible glue
Step 9:
Lay your message over top of the paste you just rolled out, glue side down
Step 10:
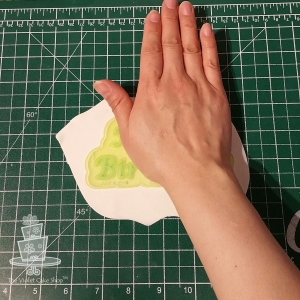
Use the heel of your hand to press the design down onto the sheet of paste; make sure to press down on all parts of the design; next, go over every section of the design again with you fingers, rubbing against the letters in a circular motion; wait a few seconds (approximately 10-15) before peeling away the onlay; TIP: peel (don’t lift) the onlay, slowly and gently, again bending it away from the gumpaste/fondant sheet, not upward
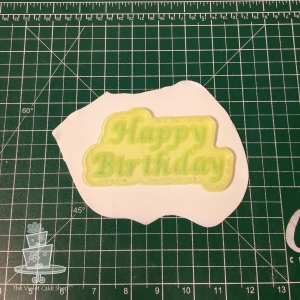
Step 11:
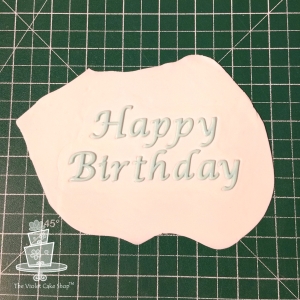
Message after removing the onlay; if letters have shifted, just nudge them back into place with a thin tool
Step 12:
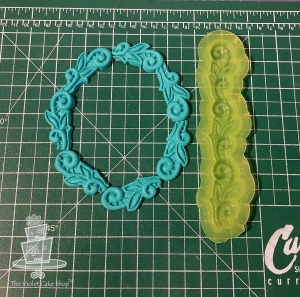
Create the frame for your plaque using any scroll or lace mold; create enough to fit nicely around the message; for deeper molds like this one, (which is the Kelly mold also by Marvelous Molds) I still prefer to use 50/50 gumpaste/fondant mix – I find it sets the shape better so it does not stretch out when you unmold it; again I prefer to use shortening in the grooves of the design to prevent sticking, but you can use corn starch – up to you which method works best for you =D
Step 13:
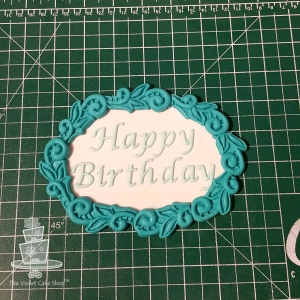
Arrange the frame and cut away the excess paste around the message before securing the frame pieces with water or edible glue
Step 14:
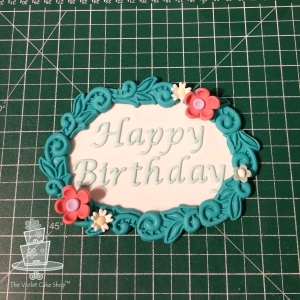
Adorn your plaque with some blossoms for that vintage look!
(Note: these are my own techniques developed independently with my own ideas and shared for personal use ONLY. They are not to be used for monetary gain or to develop products, books, DVDs, downloads or lessons for sale or to be taught in classes or tutorials, whether hands-on, on-line, in video format or in print without express written consent.)
Happy Caking Y’ALL!! =D


You must be logged in to post a comment.