
It’s been about two years now since I first introduced this tutorial on my Facebook page after getting awesome feedback on a wedding cake I’d made for some good friends of ours the previous November. There were lots of positive comments on the bow asking me how I made it.
I have always maintained and must say again here that although I’ve used this two-toned bow idea many times in designs of mine, it is not my original idea. I can’t say for sure whose original idea it was but I first saw a similar bow used on a cake by Sweet Picasso Cake Creations on Facebook. It was a STUNNING mustard yellow tiered cake that was simple, yet so dramatic because of that black and white two-toned bow.
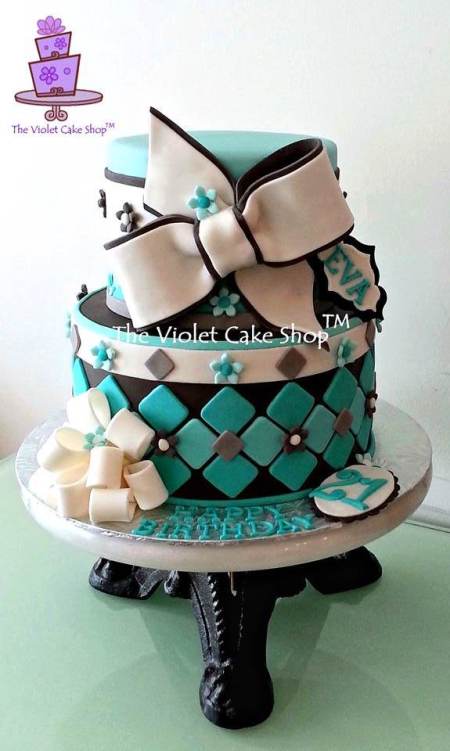
The first time I used it, was on a geometric cake design back in July of 2013 after a long hiatus away from caking after having my daughter. The method I used here was the initial one I attempted which was not as easy nor as neat as the one I eventually developed and use in the tutorial. For this bow, I used two full layers of fondant for the bow pieces, laying one on top of the other, to create the two-toned effect. Needless to say, this first method is harder to get clean and neat and takes longer so that you have to fight the clock or risk it drying up too quick on you and ending with a huge mess and lots of time wasted. I had to re-make the bow for this cake three times before I was happy.
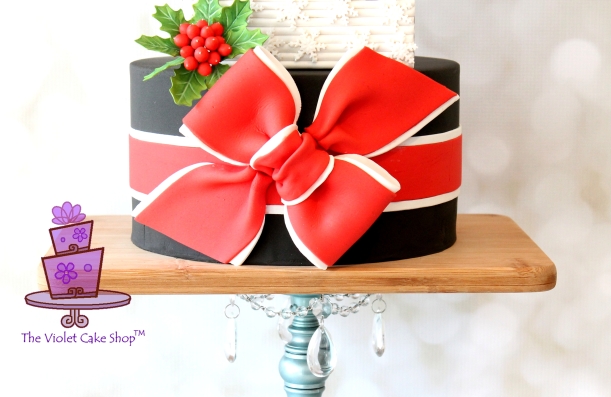
The next time I used this bow was on the wedding cake for friends that I mentioned above. Between the first bow and this bow, I attempted and tested two other methods before settling on this one as being the best way to go.
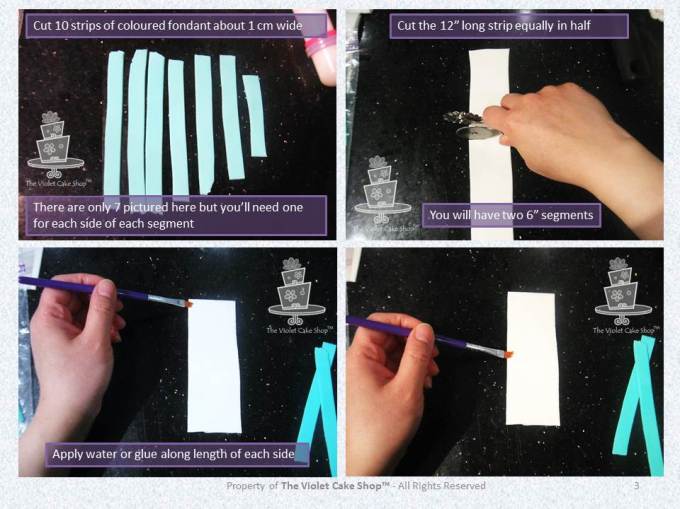
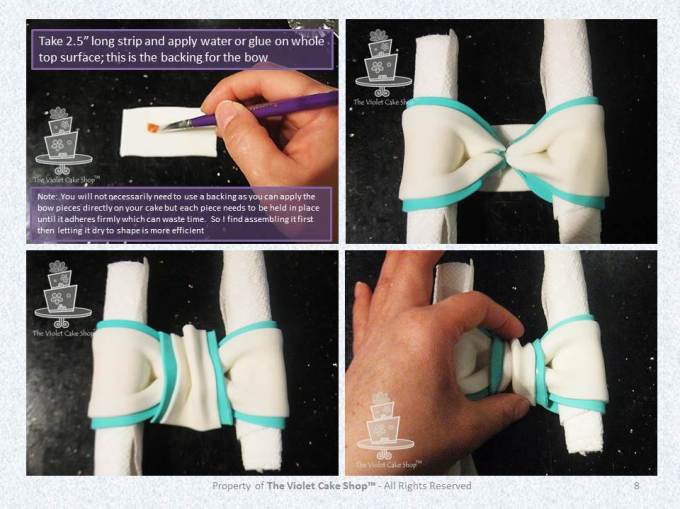
I have since used it on a few other cakes which you can see at the end of this article. Here are the steps for making my version of this two-toned bow with detailed instructions. This tutorial can also be used to make basic bows, just omit the steps where you add the coloured strips (of course…duh…but just have to say it! LOL):
(Note: these are my own techniques developed independently with my own ideas and shared for personal use ONLY. They are not to be used for monetary gain or to develop products, books, DVDs, downloads or lessons for sale or to be taught in classes or tutorials, whether hands-on, on-line, in video format or in print without express written consent.)

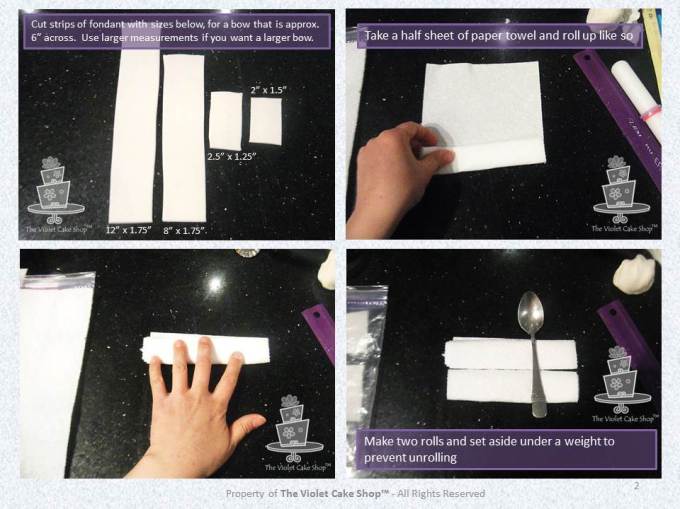
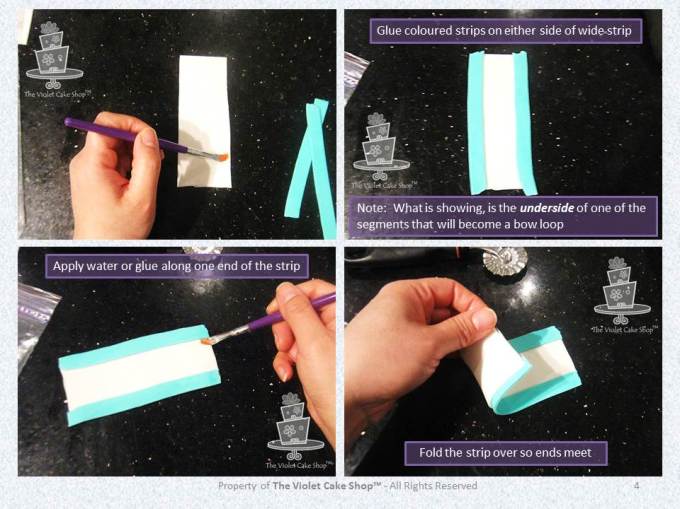
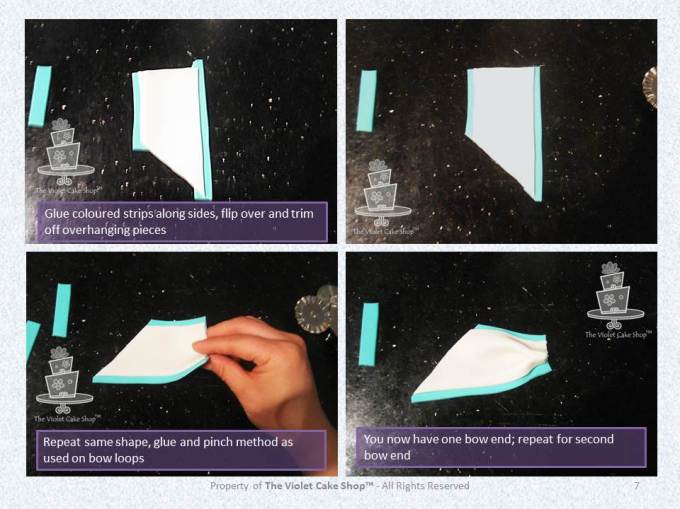
** Please note I had forgotten to take photos for adding the coloured strips to the front middle piece of the bow (the 2″ strip) so those steps are missing but you get the idea 😉 Those steps should be done before the following slide…

(Note: these are my own techniques developed independently with my own ideas and shared for personal use ONLY. They are not to be used for monetary gain or to develop products, books, DVDs, downloads or lessons for sale or to be taught in classes or tutorials, whether hands-on, on-line, in video format or in print without express written consent.)
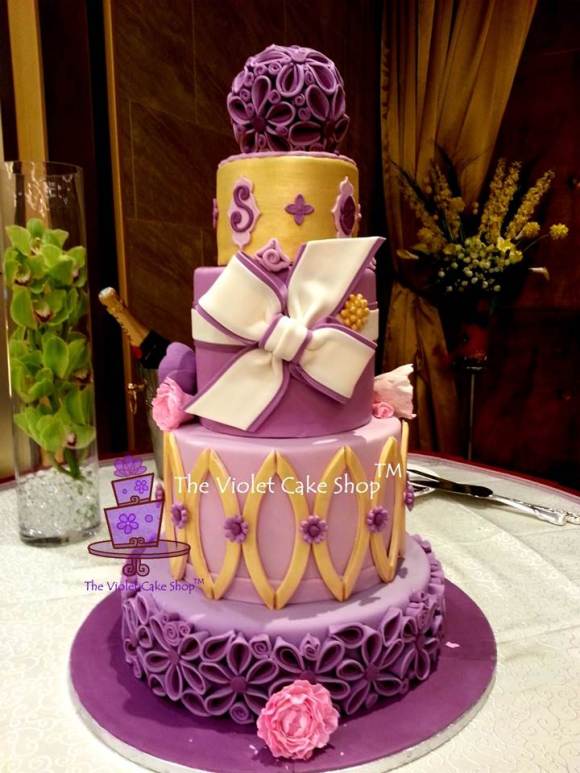
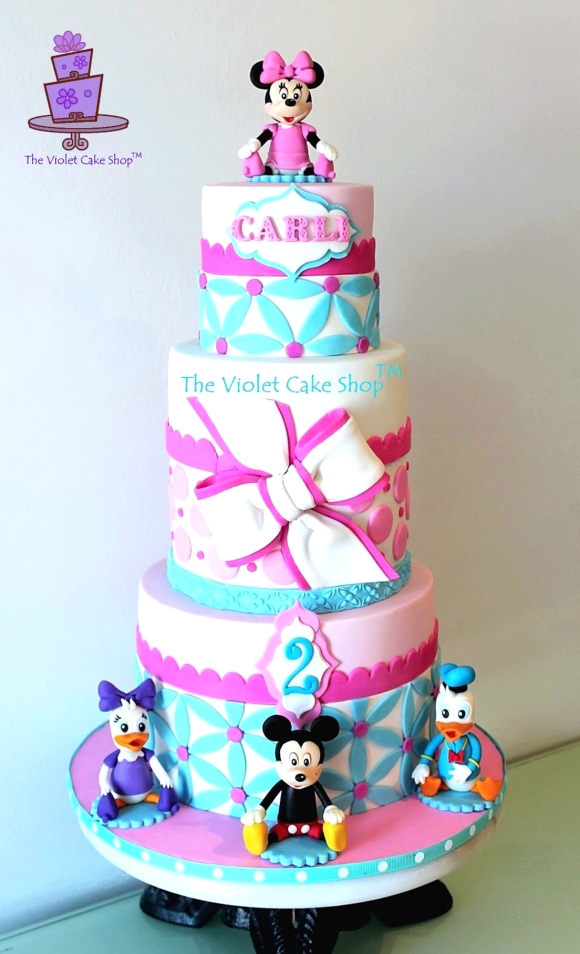
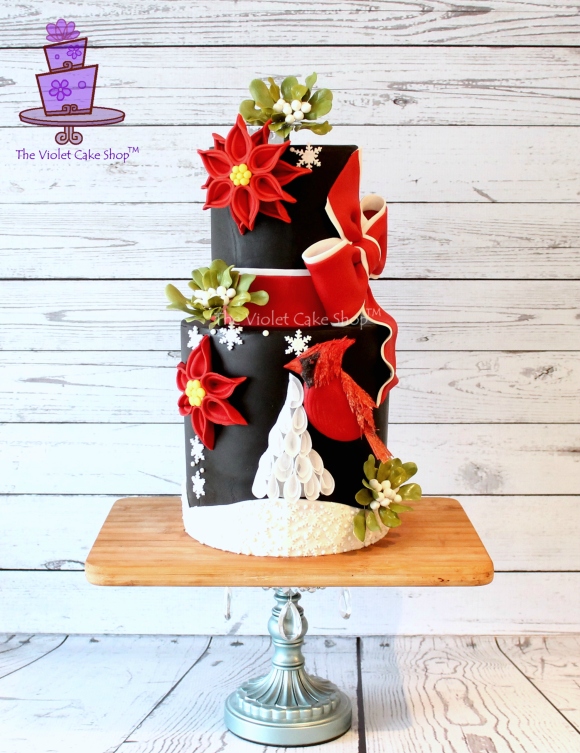
My other cakes featuring a two-toned bow…

Happy Caking Y’all!


You must be logged in to post a comment.