
SO…I’ve been super-lax in blogging and keeping up with my cake decorating shenanigans! I’ve got a few excuses though…two kiddos, one which is super high maintenance right now (as she has been ALL her life but a bit more so lately) and the other, off on summer vacation from school (bless his heart he is easy peasy but there are times…), hubby’s business trips, a few projects that I’ve been working on and just general every day stuff that happens…
But I’ve been promising for a few months now to post the story behind probably my most popular cake at the time I took the poll back in…(OMG…just checked back and it was a YEAR ago…my BAD…so sorry!) August of last year. Overwhelmingly, my Lotus cake, made for the Super Cake Moms collaboration, got the most votes. It was also my first ever cake collaboration so I was very stressed by the calibre of the rest of the members of the group. I remember that I really wanted it to stand out but also knew I, as a non-flower person I must add, was not going to be able to make the most realistic of flowers. Heck, I’d never even touched gumpaste more than twice at this point. But I challenged myself to go ahead and try and come up with something new.
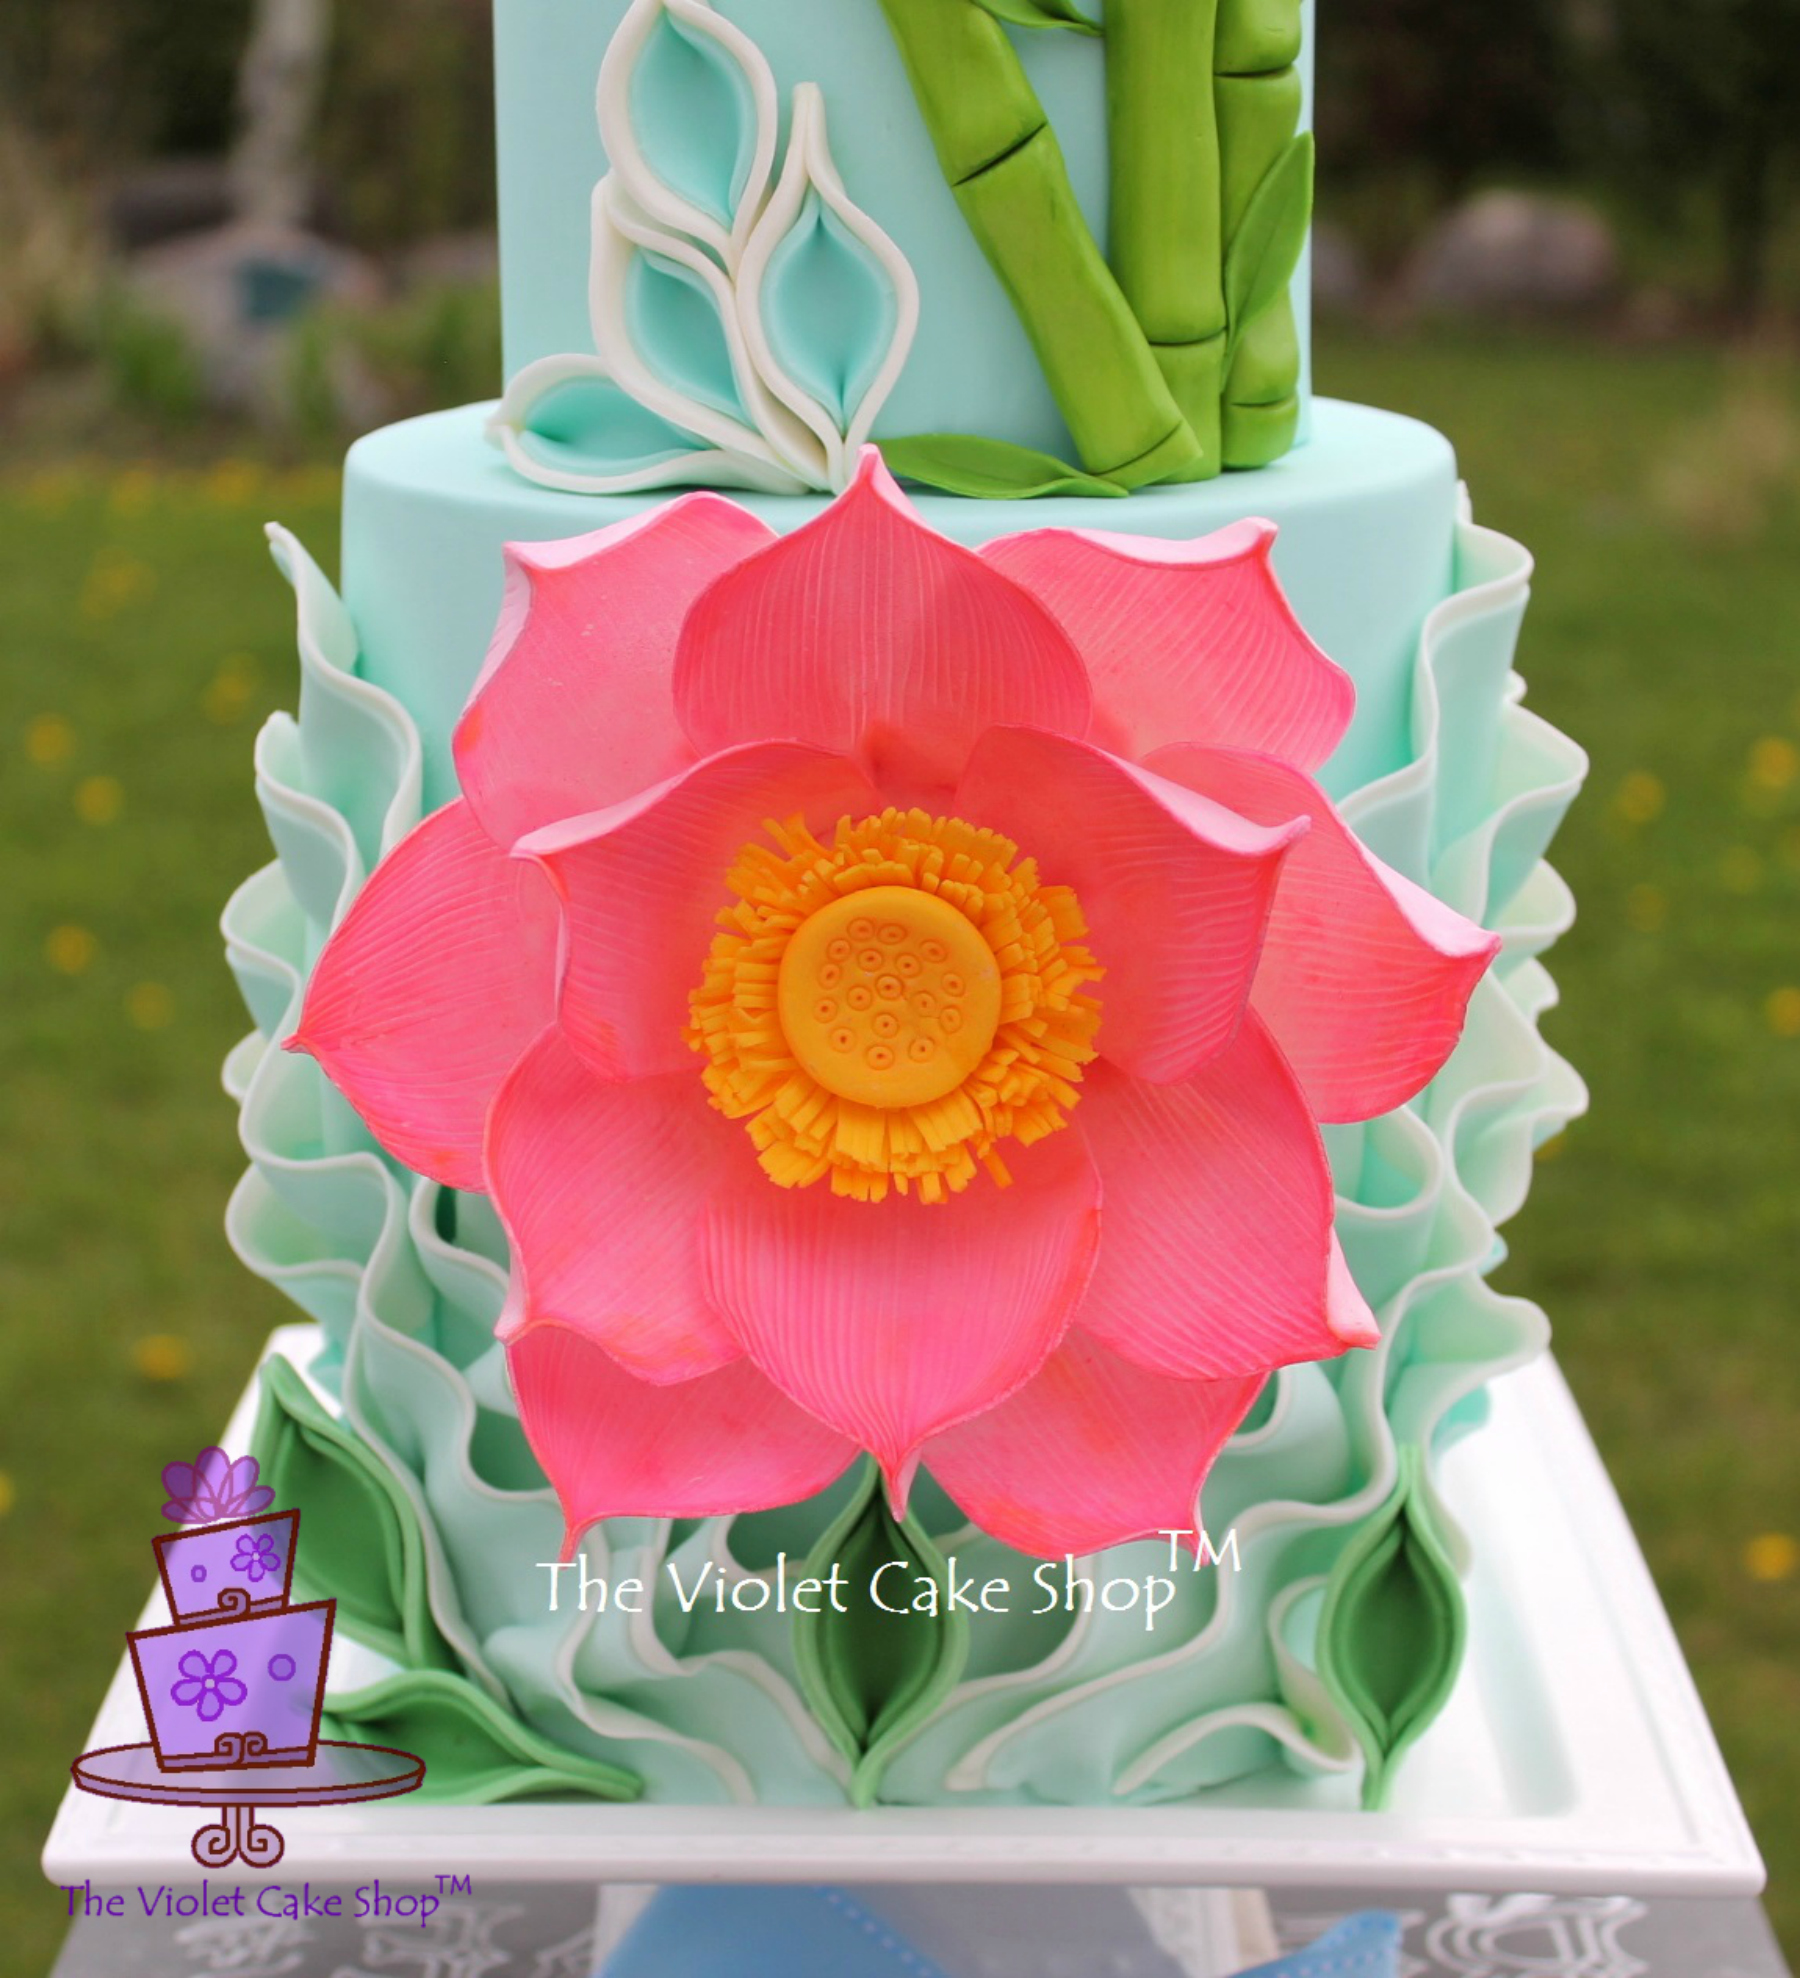
So I tried my hand at making a life-sized lotus flower which was my chosen flower as I wanted to pay homage to my mom and also my motherland, China. The LOTUS is a very symbolic flower in Chinese culture and represents purity of the body, speech, and mind. It is a large flower, often more than 7″ wide, that blooms and rises out of muddy waters and floats above it, which is what I wanted to represent with the bottom tier. The ponds and water it grows in, in China and other Asian countries often also have bamboo which I used on the top tier and which also symbolizes the country of China where both sides of my & my husband’s family are originally from.
Lotuses can actually grow to larger than the size of a medium watermelon so this is still small by comparison but it ended up being about 6″ across.

My first attempt actually resulted in more pointed petals which I did not feel was as realistic.

So I started over and made the petals fuller.


I started with white gumpaste petals and dusted, and dusted AND DUSTED with hot pink petal dust to come up with this colour.

I also added some soft pink dust in the centre of each petal to give it some more depth. This flower was completely unwired but I did end up inserting a small dowel into the very centre after the petals were assembled and it had dried for about a day, so that I could adhere it to the cake and not have to worry about it falling off. I actually put it together very much like you would a fondant loopy bow but I started with the inside petals first and added on the outer ones, with each petal being adhered to the growing bloom with just some fresh fondant as the glue.
I was very happy with it in the end but KNEW it was not realistic or lifelike. As with most of the flowers I made, it had a very stylized look so I decided to celebrate the distinctiveness of how I formed the petals and call it a stylized gumpaste lotus!
This flower ended up being SO popular that I was constantly being asked for a tutorial for it. I was finally able to make a PDF tutorial of a smaller version of it and included in my Craftsy class, Cakes in Vivid Color (which by the way you can get with my special Instructor’s discount here). I had hoped to include it IN the actual class itself but alas, we ran out of time and had to cut it during filming which was a bit disappointing =(. But I definitely am happy that we were able to include a free downloadable version of it for all that enrolled, especially given that it is used on three of the four designs shown in the class.

I also have an extended version of it available in my Ecwid Shop on Facebook.

I loved the lotus flower so much that I played around with a wafer paper version of it which was used on my Festival of Lights collaboration cake.

I have a free tutorial for the wafer paper version that you can find on my Facebook page here.

I have since used it on a few other cakes as well, both for collaborations. The first one was for the Pretty Pink for Yasmine collaboration honouring a sweet young girl 10 years after her passing, who would have turned 15.

I mixed it in amongst some delicate gumpaste cherry blossoms to create an angelic feeling of a fairy garden.

The other time was for the Elegant Indian Fashion collaboration where I used a single, medium-sized fantasy lotus, painted with gold lustre dust to top my saree inspired cake.


I have been going a bit LOTUS crazy lately but I hope y’all still like it lol!
Happy Caking Y’ALL!! =D

April 12, 2020 at 2:11 pm
Hi
The lotus flower tutorial is not in the cakes in vivid color tutorial on craftsy blueprint. I have that class and looked everywhere.
LikeLike
April 12, 2020 at 2:14 pm
Apologies it’s a pdf document. It is there thank you
LikeLike
April 12, 2020 at 2:44 pm
Edited – ah just saw your second comment! No worries…glad you found it! =D
Hi Anu, the tutorial is in a file you download from the class. Just click on the ‘RESOURCES’ tab in the black section under the class pic (beside ‘OVERVIEW’). See this link https://www.mybluprint.com/playlist/5167/11527?t=329.
If you cannot see it, you may be using a free access account, in which case downloadable resources are not available – they are available only for paid classes/access.
Hope this helps. If you have paid access and still cannot find it, you can email Bluprint support directly or send me your userid by email to thevioletcakeshop@yahoo.com so I can forward to Bluprint support.
LikeLike